dollhouse miniatures blog, diy mini links + resources, not a sales site.
Tuesday, December 16, 2014
Friday, October 31, 2014
Saturday, October 25, 2014
HALLOWEEN NIBBLES
I made some pumpkin cream cheese bars for my Halloween table
See more Halloween Minis here http://littlelifestyles.blogspot.com/search/label/mini%20halloween
Sunday, August 24, 2014
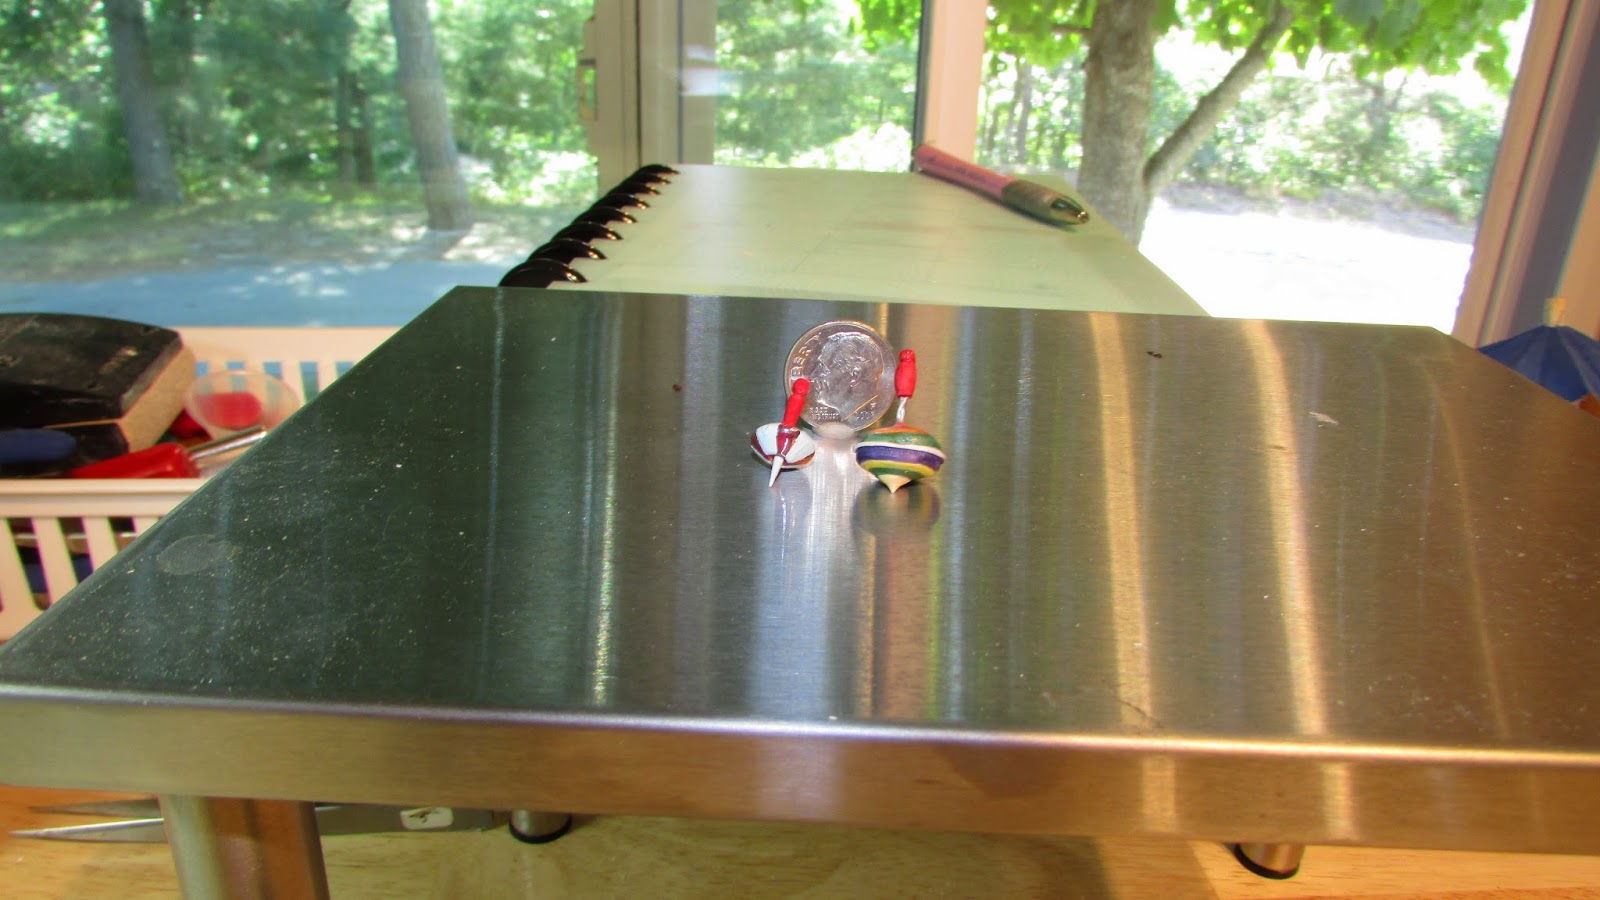
MINI TOPS
I made the one on the left. The one on the right is artisan made. They both work!
More toys are here https://picasaweb.google.com/KalRon29/MINITOYS#6051235148452685586
Wednesday, July 9, 2014
PAINT CANS TUTE
EASY PAINT CANS #1
MATERIALS
circle template
9/16" fimo cutter
pasta machine
fimo or skulpy the color of the paint
self adhesive mirror roll (you may use a disposable pie pan or other tin or metal product, and suitable glue, if you don't have the mirror roll)
label for your paint can
roll clay on setting "1
cut four 9/16" circles from the rolled clay
stack the circles in 2's
take your circle template and place the 15/32" hole on top (centered) of the circle. press down lightly to give the impression of a can top.
Bake your circles.
Cut a piece from the mirror roll, 2 and1/8" by 13/16"
Gloss only the tops of your clay circles. Let dry.
Glue the mirror or metal to your fimo circles, line up top and bottom evenly. the middle of the can will be hollow.
Create a paint can label in your computer, or find one on-line, or scan and reduce a real one. This should be a bit shorter than your can, so that the metal shows a bit on the top and bottom.
If you need more pictures of clearer instructions give me a holler.
The picture shows my first attempt. I used chrome nail polish on these fimo discs, and decided I would like to use the colored discs instead. Our paint store now carries paint with colored tops.
PAINT CANS #2
The self adhesive wasn't working today (for some strange reason) so I had to use super glue gel.
If you use an old pie pan, you could always cover the tops with tin foil. It will mold nicely on the fimo discs.
If you have the mirror material and you don't want to use colored discs, and don't like the silver polish or paint (I personally think they are not a good match), you could use silver foil on the discs.
If you have tons of old fimo, you could make enough discs to make the can solid. With the measurements I gave you, one of the discs would need to be thinner.
I'm not putting handles on these as they will sit piled on a shelf in the Mini Mart.
To attach wire you can glue an ear ring back on each side (or a smaller finding) and glue your wire into it.
I experimented to come up with these because the ones made out of paper with the sliced tops and bottoms just looked like ill fitting paper to me.
PAINT CANS #3 LABELS
Try this search
https://www.google.com/search?hl=en&sugexp=ppwl&cp=16&gs_id=16&xhr=t&q=paint+can+labels&tok=AooUK4lI28NL_yK33vqriw&gs_sm=&gs_upl=&bav=on.2,or.r_gc.r_pw.,cf.osb&biw=1067&bih=590&wrapid=tljp1320920901707016&um=1&ie=UTF-8&tbm=isch&source=og&sa=N&tab=wi
There are tons of labels, including some very neat vintage ones.
Thursday, July 3, 2014
Wednesday, May 28, 2014
Saturday, May 10, 2014
Saturday, April 19, 2014
Monday, March 17, 2014
Friday, February 14, 2014
Friday, January 24, 2014
Wednesday, January 15, 2014
BABY IT'S COLD OUTSIDE
A new coat for little Bailey who lives in the Thornhill with her baby sister and little twin brothers.
The coat is ultra suede with chenille trim
Subscribe to:
Comments (Atom)


